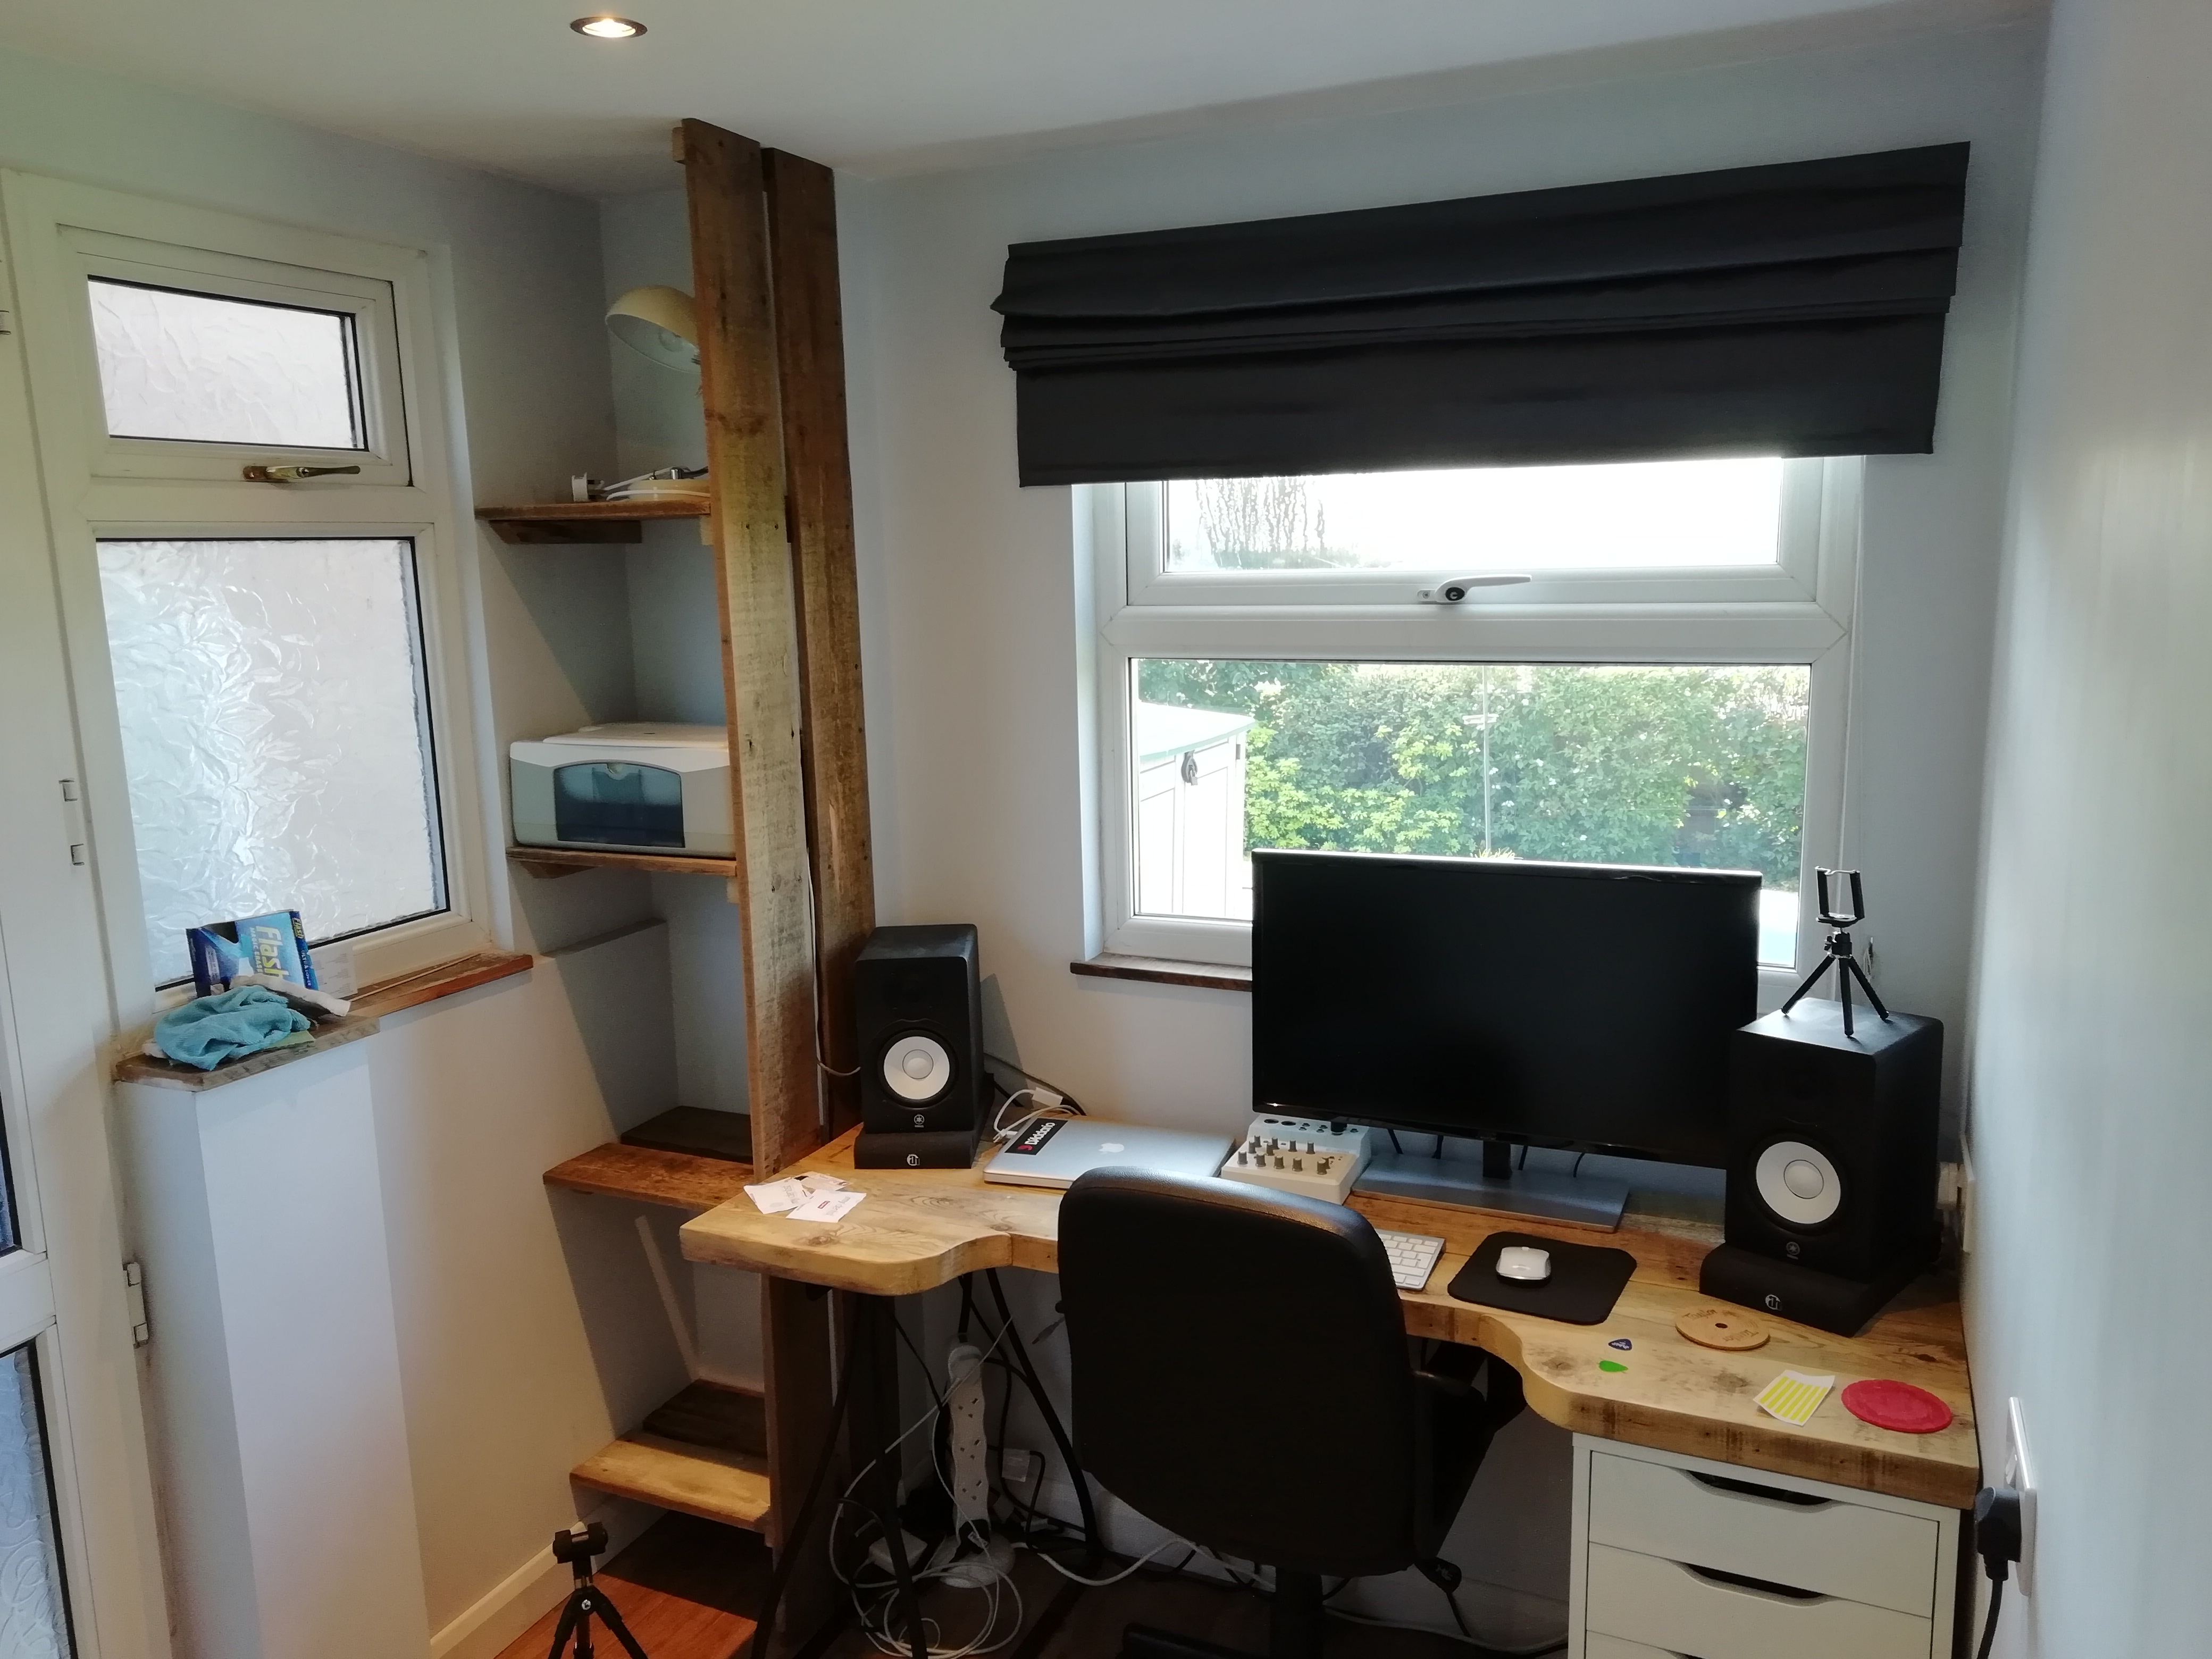
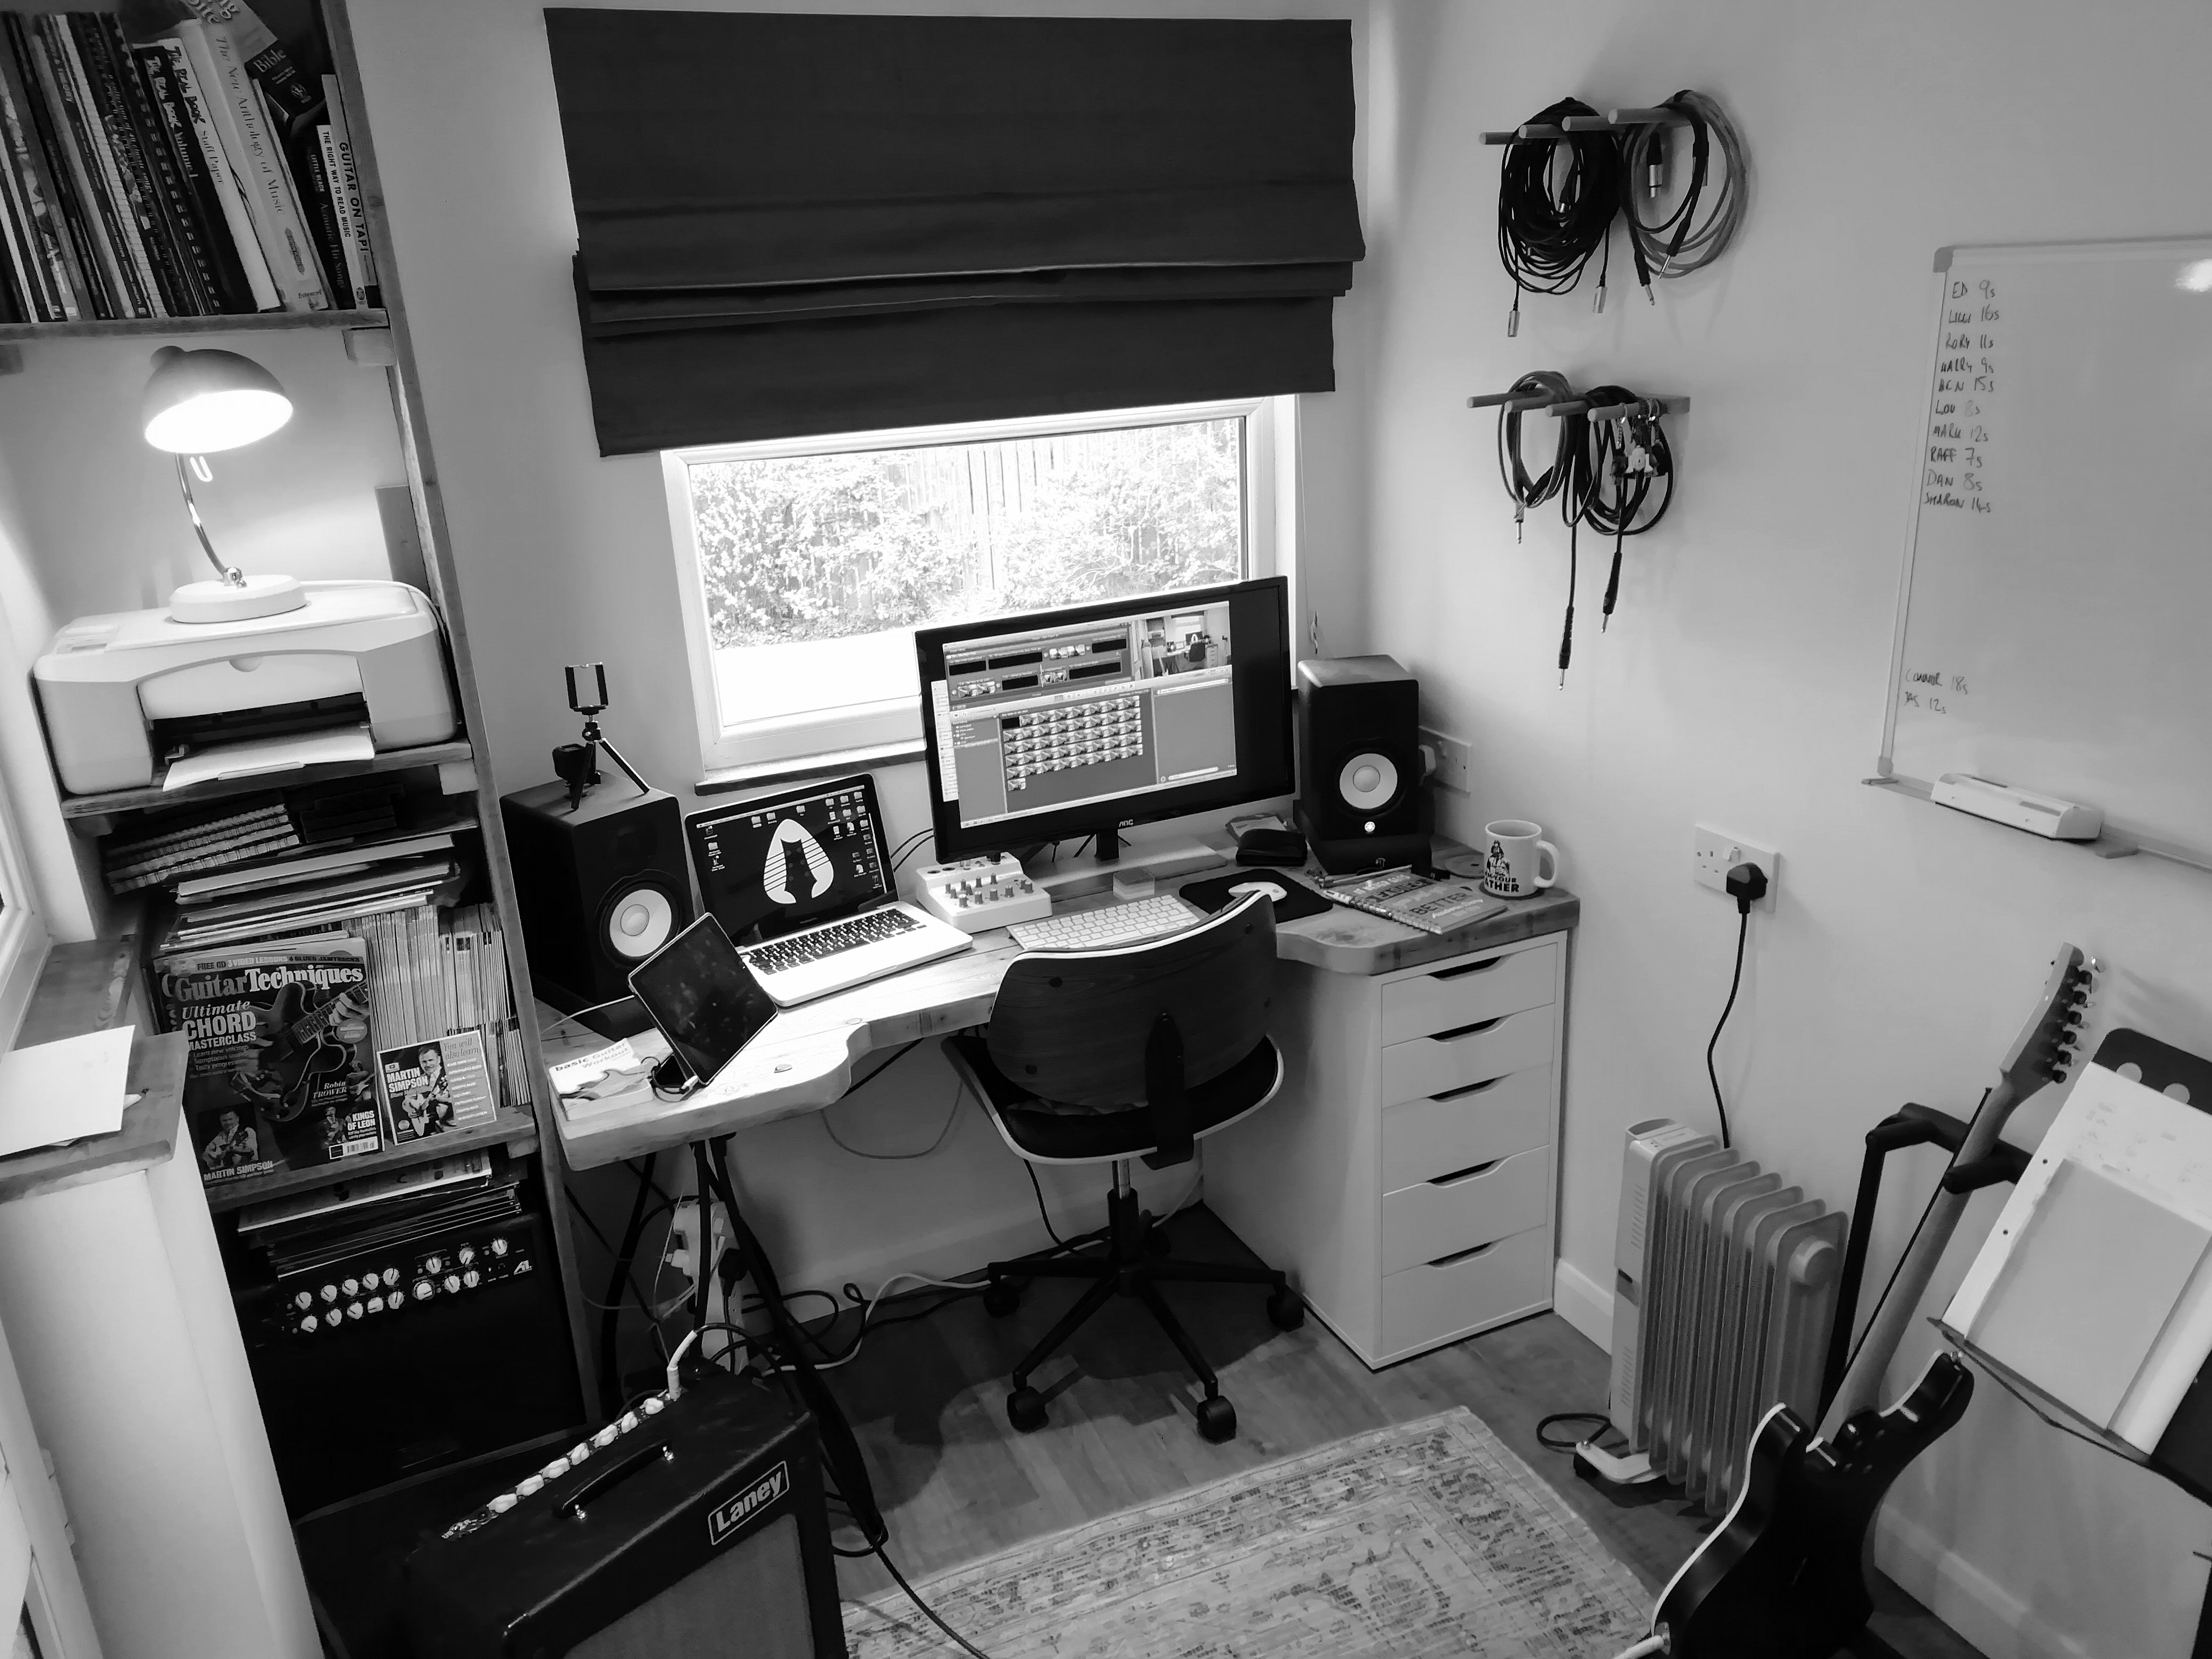
home studio

Studio finish…ish

Studio finish…ish

As I stated on previous Studio updates, this has been a working studio for a while now it has just taken me this long to finish this Studio blog update. I can honestly say it is the best place to work from. From one-to-one students to online Skyping, being in here is a pleasure. Hope you enjoyed the journey as I did.

The last little flourish was the icing on the cake. Blinding!
Custom made shelving made from the reclaimed roofing timbers from the old roof. A bit lucky as the printer just about fit in the space.
And finally I moved in! It is the best place I have ever worked from with everything in place exactly where I need it.

Studio 1.4

Studio 1.4

Almost there!!

After the plaster had dried it was time for a lick of paint. Also custom made window ledges made from the original roof timbers.
After seeing the final space for the first time I had decided my original desk was too big for the room so… I made a new one (from reclaimed timbers of course).
And finally the flooring went down. It was slowly becoming a wonderful place to be.


Studio 1.3

Studio 1.3

This Studio update is long overdue, I have been successfully working out of my studio for a long time now. It has become a home from home with comfy furnishings and all the things me and my students require to have great lessons together. I just need to finish this building blog!!!

After the first fix electrics went in, I got busy plaster boarding the walls and ceiling. Sound board was used to minimise any outside disruption and it works very well..
After I had help some more help with the plaster coat (I could never get it as good as it is now)..
Finally out of the dark came my mate Lee to hook up the electrics (what a guy)..

Studio 1.2

Studio 1.2

Hi and welcome to the next episode of Cowboy builders “how to convert a shed into a studio”. Let’s get straight into it with the completion of the entrance way. The wall is completed with the instalment of the final window next to the door.

Now the wall is complete with fully secured door and window.

There’s a couple of jobs I’m just not quite man enough to tackle on my own and the roof was one. So my lovely student recommended her farther’s company to install an all-rubber flat roof system. It will never leak because I didn’t do it!

The new roof was let down down by the old guttering so… it simply must go! New guttering and down pipe.


Here’s the new Firestone rubber roof fully tested by the British weather. “Nice fascia boards too” I here you say..
I have created a custom size gate with the old timbers from the shed door to keep the garden private.

In the next blog I will be starting the juicy stuff inside like the insulation, electrics and plasterboard. Enjoy!

Studio 1.1

Studio 1.1

A quick update on where we are with the studio. Really enjoying learning new building techniques and taking my time to do things correctly. As you may know I’m a guitarist so this kind of work is out of my depth but I will not be deterred.

The hole is filled with a window now.

Now the main window is installed, attention turns to the entrance.

Building begins on the short wall to house the side window and support the door.


Im using an extension wall tie to support the new wall as I cannot tie in the blocks with the existing brickwork. You might think why Im using blocks instead of bricks… I have a plan!


And finally the door has been installed, provisionally as I only have one wall to secure it to.

That concludes this weeks instalment of Cowboy builders. Looking forward to the next step.

Studio 1.0

Studio 1.0

So, it has been a while since I have posted any updates or blogs. Teaching and performing recently has been crazily busy and has taken up most of my time and concentration.

This year (2018) is the year of the new home studio. I can’t tell you how excited I am to have a place to work on loud things without disturbing the family. As I am doing most of the building work myself it’s going to take a while to accomplish. Slowly but surely it will come together and I will finally be able to rock out at 2am.

Here is where I am up to yet. As the drive way butts up against the front wall of the building I have had to waterproof the brickwork under the ground.

Driveway digging isn’t the easiest.
A couple of coats of bitumen damp-proof paint.
And finally a damp-proof plastic sheet to prevent and damp.

After dealing with the driveway issue I started to make way with the new windows.

The first cut is the deepest.
It’s starting to look like a window already.
And now finally with a lintel in place. Ready for the window.

Finally, I have also bricked the front window you can see in the previous picture. I have to say, I really enjoy doing brickwork. Even tho it is my first attempt, I don’t think it’s too bad (I’m sure the builders out there will have something to say about it).

In my defence, the original brickwork’s not that straight either. It’s in-keeping.
Don’t worry, it will be pointed soon enough.
An the interior is finally private from the street.

Work is on-going and I plan on updating the blog whenever a milestone has been reached. Which, as I’m alone in work, will probably be another decade but you know how the saying goes… Slowly, slowly catch a monkey!